Best of the
Best
Editors' picks and our top buying guides


Best of the
Best
Editors' picks and our top buying guides
More to Explore


Latest
Best Verizon Plans: How to Choose and Which Ones to Pick in May 2024
10 minutes ago
Get Up to $750 Off Top Rowing Machines During Hydrow's Memorial Day Sale
13 minutes ago
With All the NFL Streaming Services, the First Month Alone Could Cost You at Least $88
40 minutes ago
Bambu Lab A1 Review: The Best Way to Spend Your 3D Printer Money
40 minutes ago
Best Smart Locks of 2024
40 minutes ago
Best AT&T Plans: How to Choose and Which Ones to Pick in May 2024
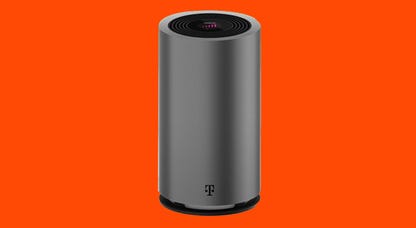
40 minutes agoCenturyLink Internet Plans: Pricing, Speed and Availability Compared
40 minutes ago
Get 20% Off at Beauty Pie With Our Exclusive Code
47 minutes ago
Best VPN for Amazon Fire TV Stick in 2024
1 hour ago
This Is the Weirdest Camera I've Ever Loved: The Hasselblad 907X
1 hour ago
Why Google's Nest Speakers Need Gemini AI to Improve Its Assistant
1 hour ago
I Switched to Using eSIMs for Roaming When I Travel. You Should, Too
1 hour ago
Social Security Check in May: Are You Getting Money This Week?
1 hour ago
Android 15: See New Features in Action
04:44 • 1 hour ago
How to Convince Your Aging Parents to Use Home Security Devices
1 hour agoOur Expertise
Expertise Lindsey Turrentine is executive vice president for content and audience. She has helped shape digital media since digital media was born.
0357911176
02468104
024681025
Tech


Upgrade your inbox
Get CNET Insider
From talking fridges to iPhones, our experts are here to help make the world a little less complicated.
Money


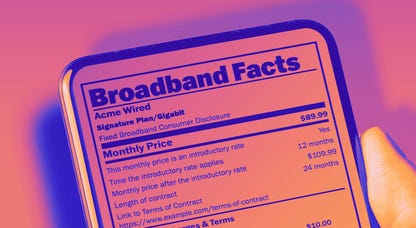
Crossing the Broadband Divide
Millions of Americans lack access to high-speed internet. Here's how to fix that.


Energy and Utilities


Deep Dives
Immerse yourself in our in-depth stories.


Get the best price on everything CNET Shopping helps you get the best prices on your favorite products. Get promo codes and discounts with a single click.
Add to Chrome - it's free!
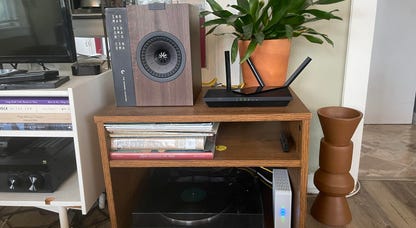
Internet


Sleep Through the Night
Get the best sleep of your life with our expert tips.


Get the best price on everything CNET Shopping helps you get the best prices on your favorite products. Get promo codes and discounts with a single click.
Add to Chrome - it's free!
Tech Tips
Get the most out of your phone with this expert advice.


Get the best price on everything CNET Shopping helps you get the best prices on your favorite products. Get promo codes and discounts with a single click.
Add to Chrome - it's free!

Home


Living Off Grid
CNET's Eric Mack has lived off the grid for over three years. Here's what he learned.


